Setting up a working environment on Linux
This article will help you to configure the working environment React Native on the operating system Linux for the mobile operating system Android. This article will use the popular Ubuntu distribution.

Installing Node.js, OpenJDK packages
Let's start installing the Node.js package via the terminal.
To start the installation, you need to install Curl for this, paste the following command into the terminal:
sudo apt install curl
And then, after the download is complete, paste the following command:
curl -sL https://deb.nodesource.com/setup_lts.x | sudo -E bash -
Now you can install Node.js with the command:
sudo apt-get install -y nodejs
Thus, you will install Node.js, the current installation instructions can be found on the official site Node.js.
To install OpenJDK, paste the following command into your terminal:
sudo apt install openjdk-11-jdk openjdk-11-jdk-headless
You can check the correct installation of OpenJDK by pasting the command in the terminal:
java -version


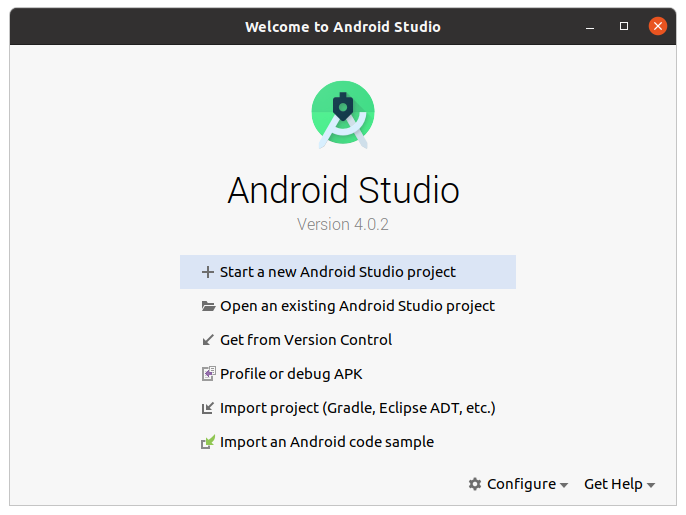
Installation Android Studio
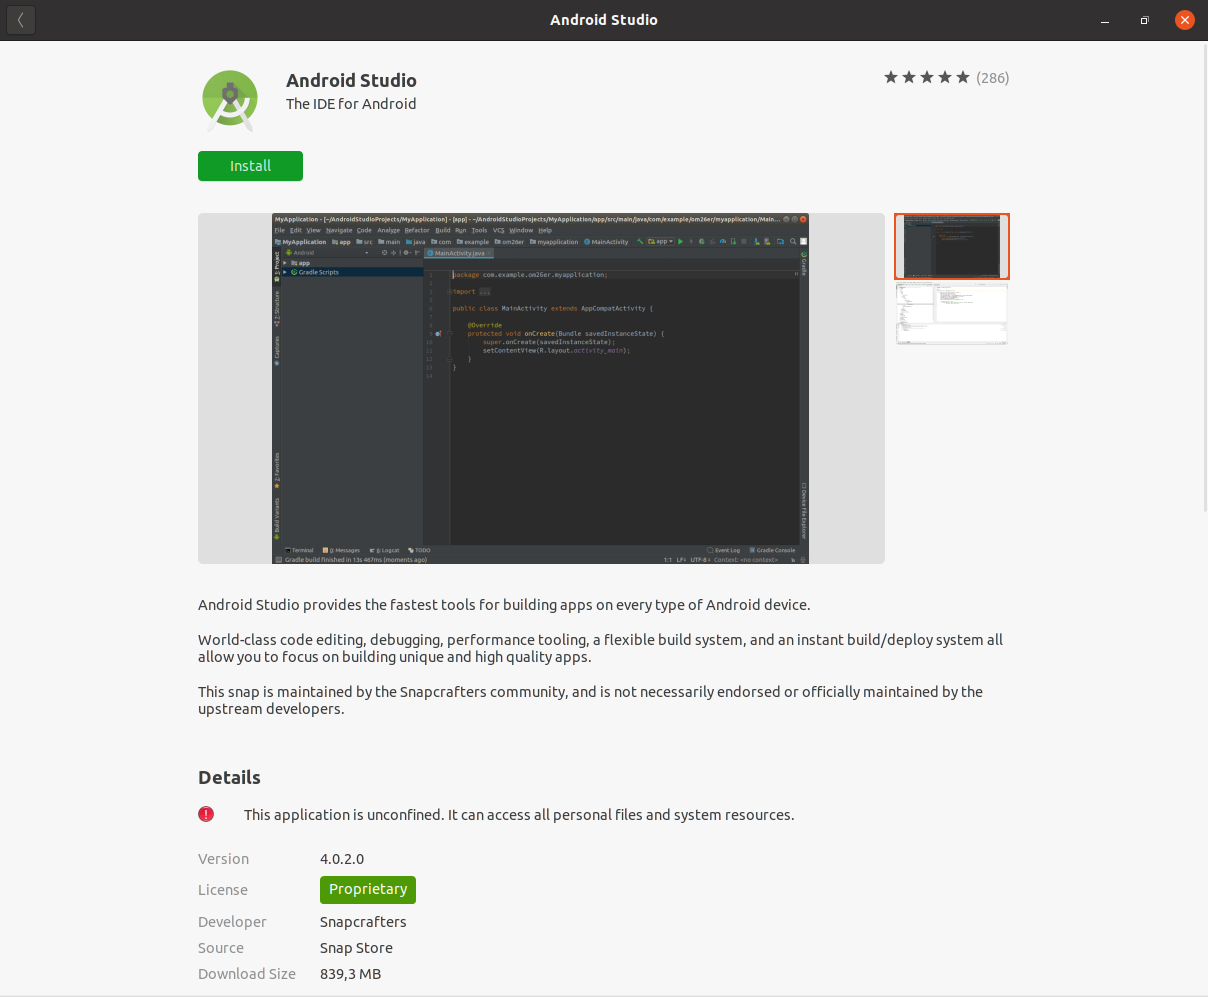
Now you need to install Android Studio. On Ubuntu it can be installed using the Snap Store. To do this, in the Snap Store search, enter Android Studio.
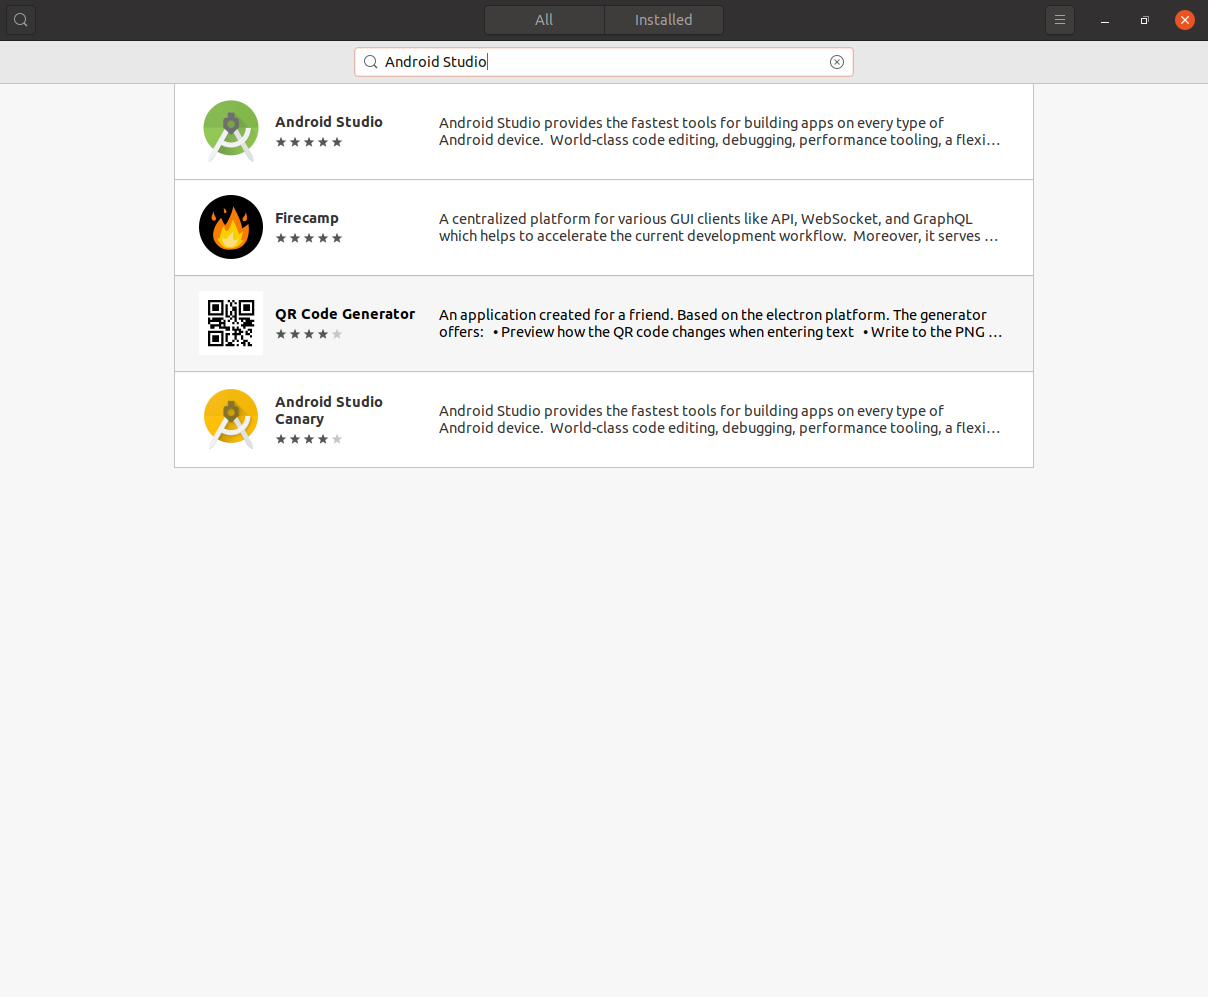
Select it and click the button Install.
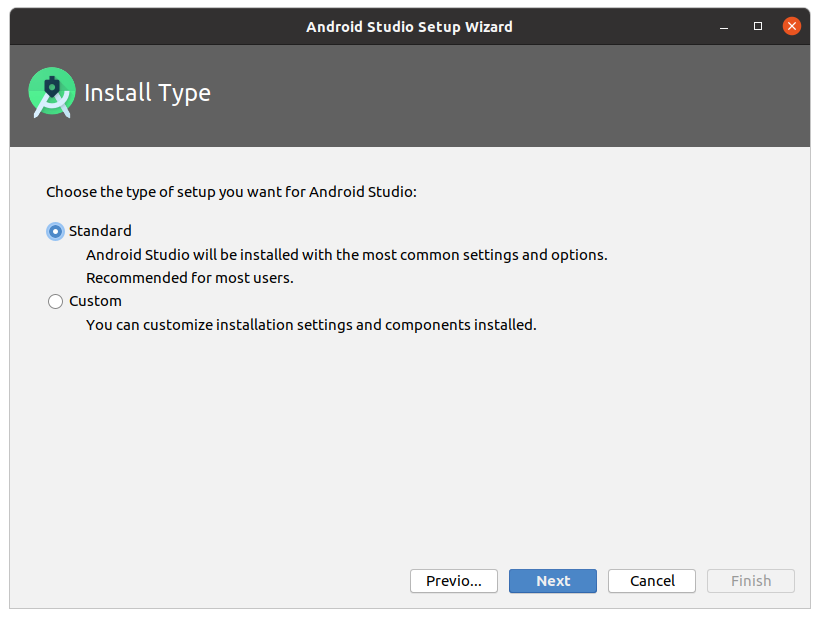
After the download finishes, launch Android Stuido and follow the installation instructions. It is recommended to leave all the default settings.
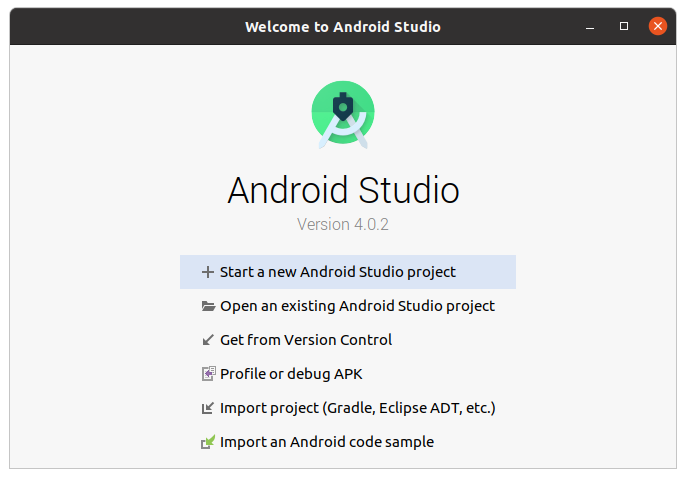
When Android Studio finishes installing it will start automatically.

Installing the Android SDK
To get started with Android OS, you need to install certain Android SDK components.
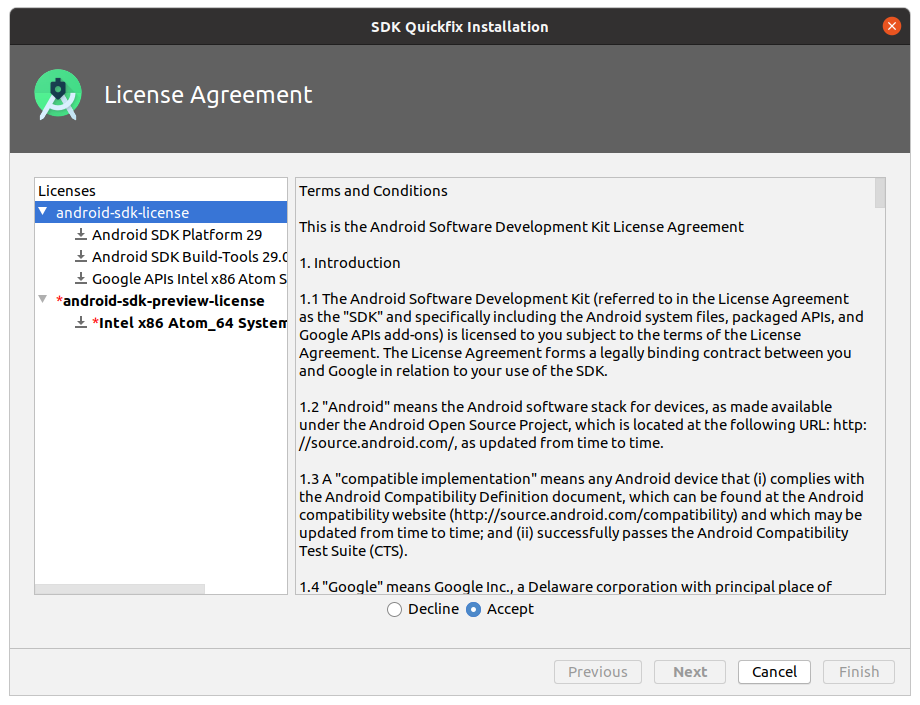
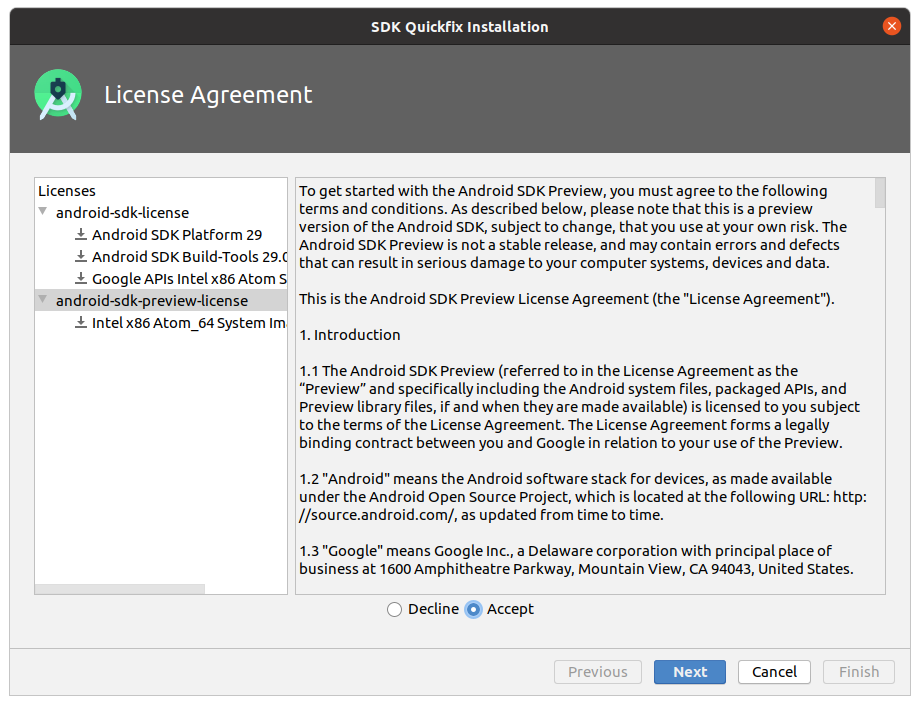
To install them, open Android Studio and click on the bottom right button Configure-> SDK Manager. If not, restart the application.
In the opened SDK Manager in the lower right corner, check the box Show Package Details.
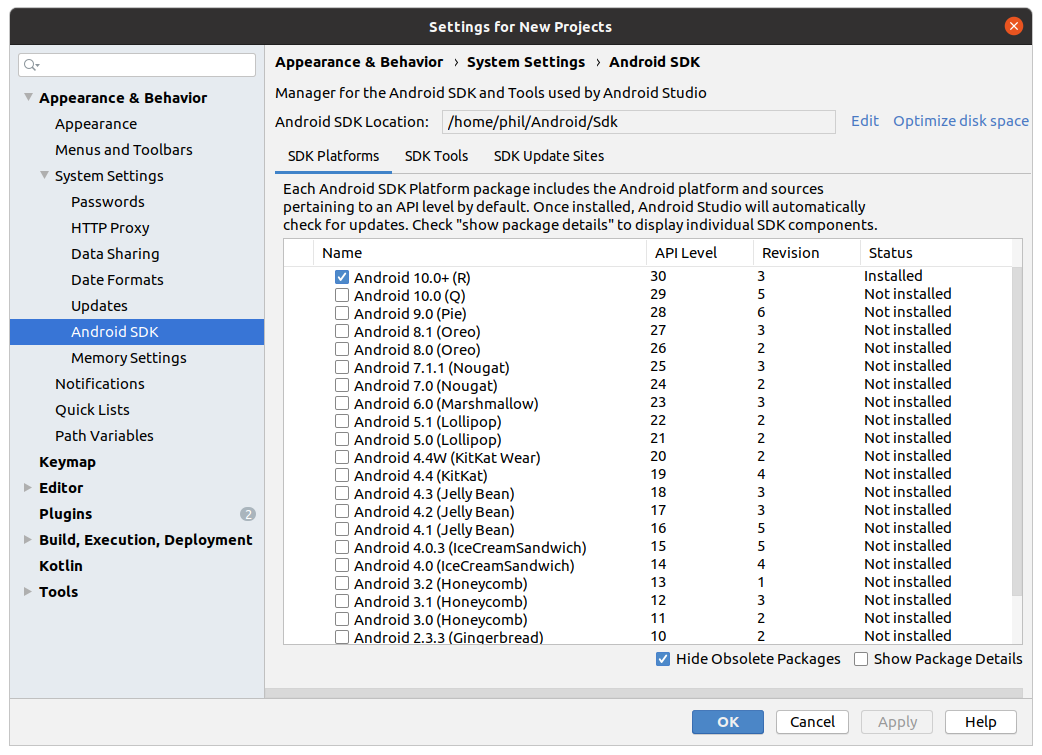
Find and expand the list for Android 10 (Q), and make sure the following items are checked:
Android SDK Platform 29Intel x86 Atom_64 System Imageи/илиGoogle APIs Intel x86 Atom System Image
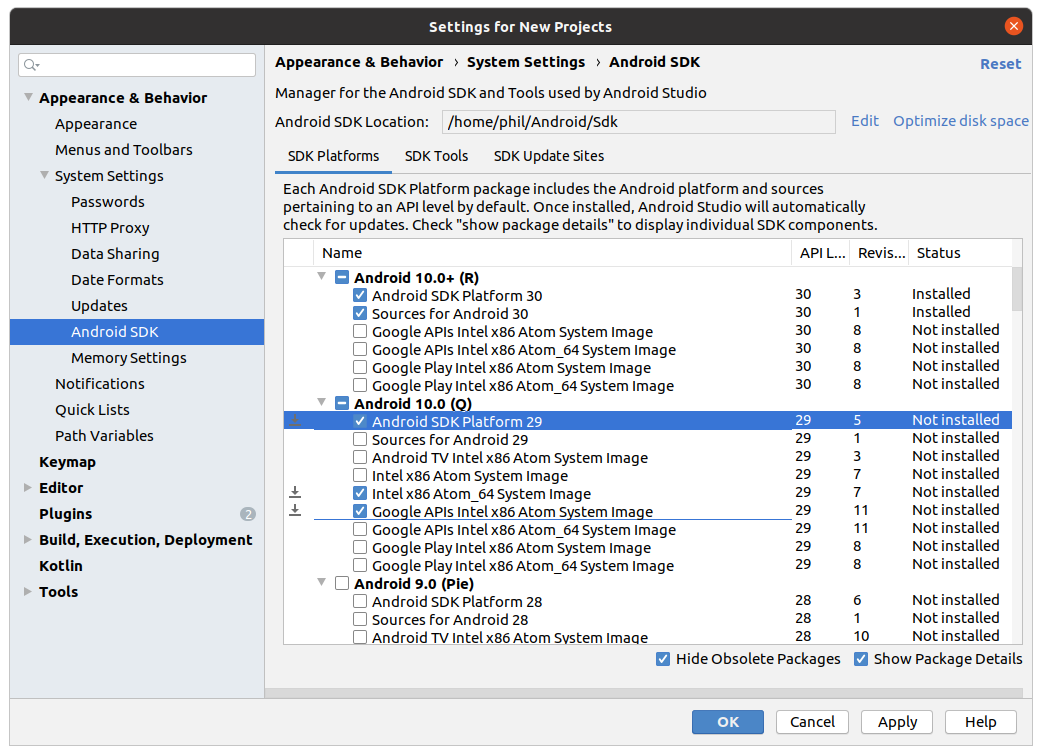
Then select the SDK Tools tab and also check the box next to Show Package Details.
Find and expand the entry for Android SDK Build-Tools, make sure the version is 29.0.2.
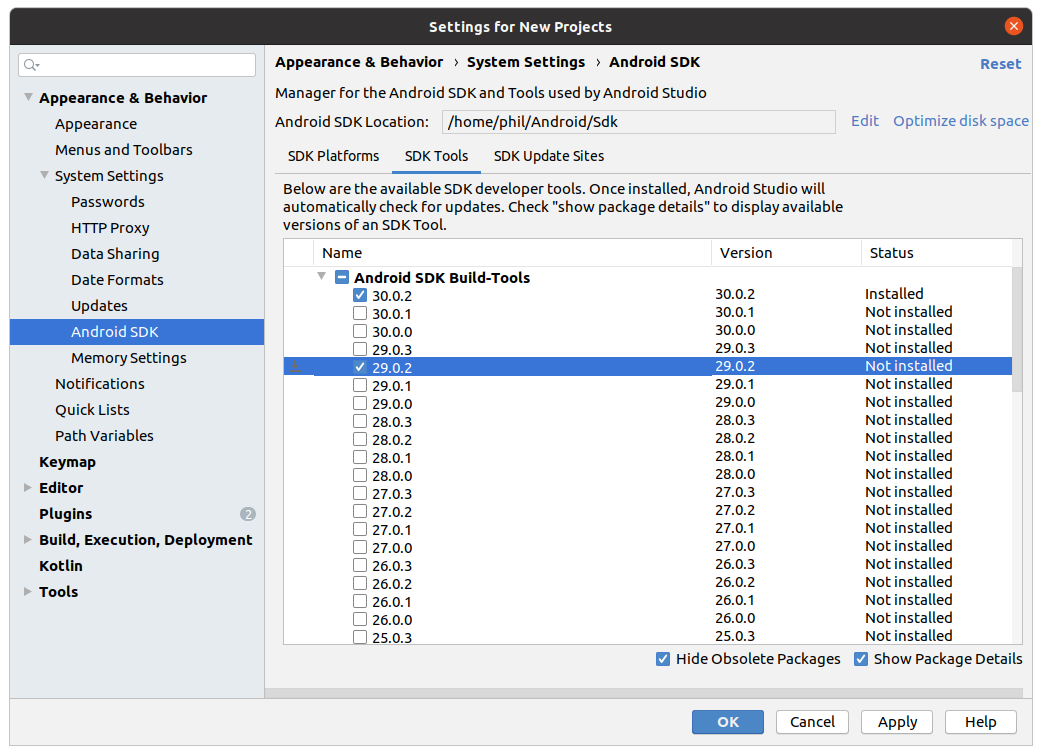
Click on Apply to download and install the Android SDK and related build tools.
Accept the license agreement during installation.

Setting the ANDROID_HOME environment variable
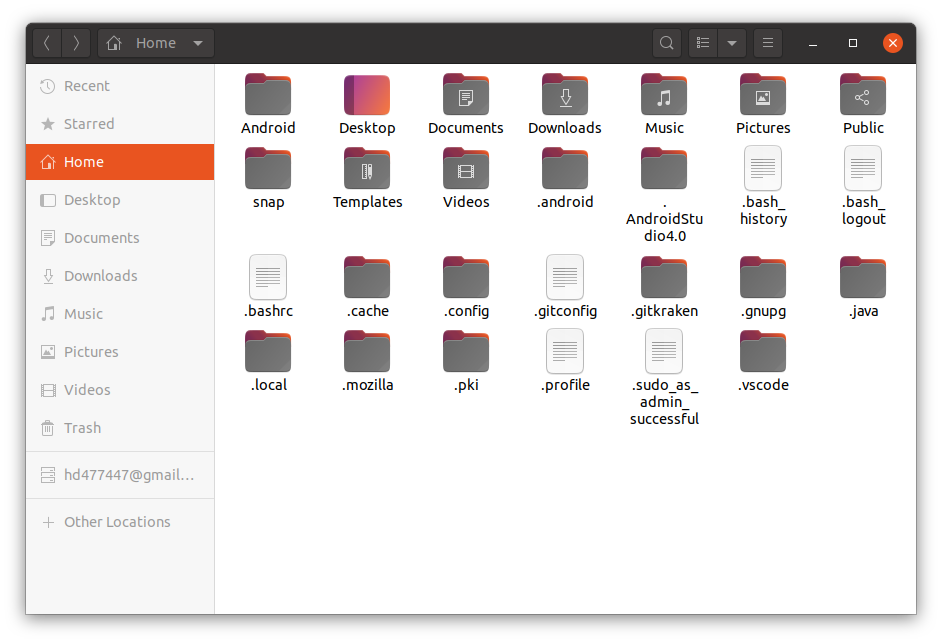
To set the variable ANDROID_HOME go to the folder Home
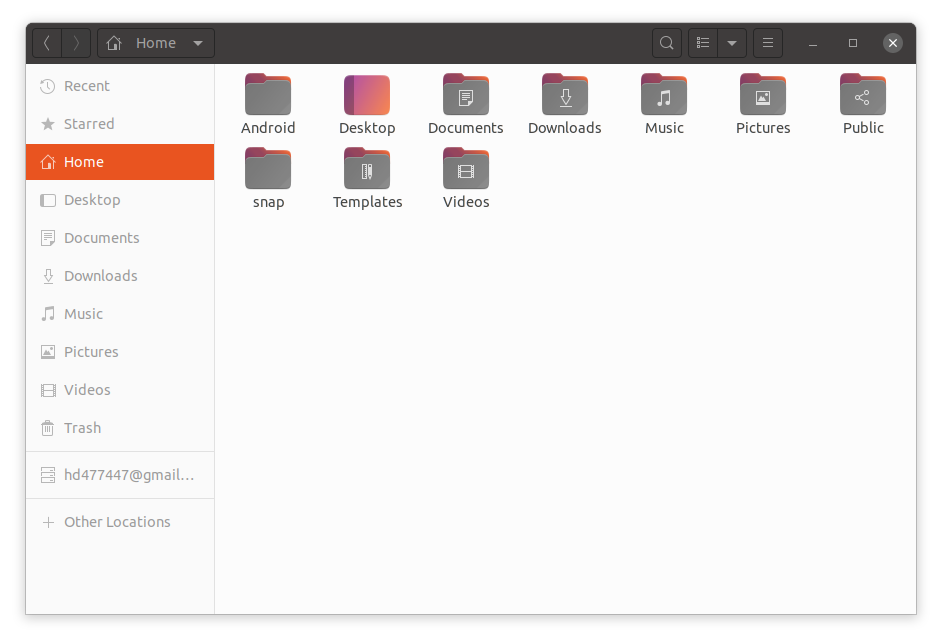
and enable the display of hidden files.
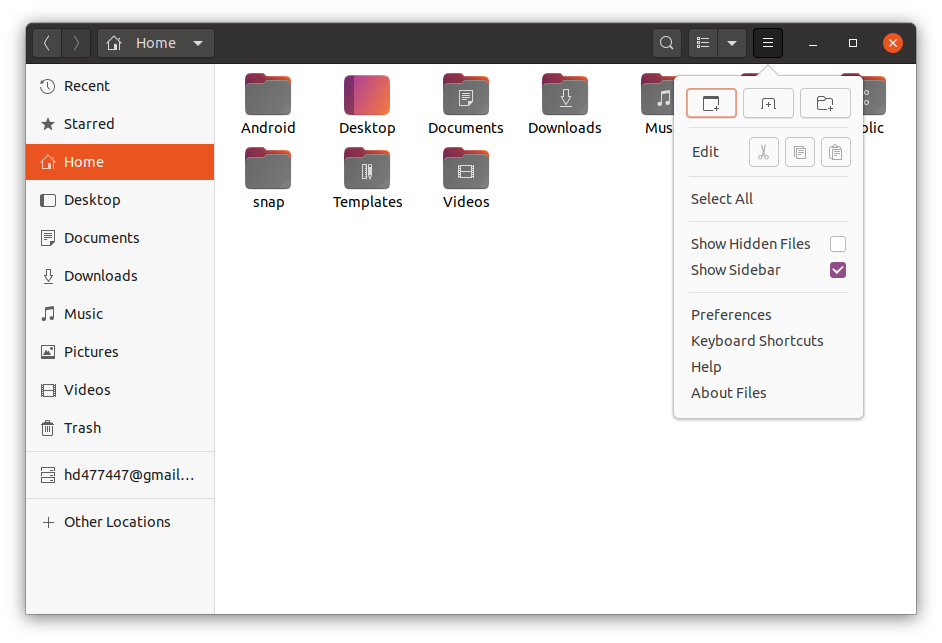
The Home folder will look something like this:
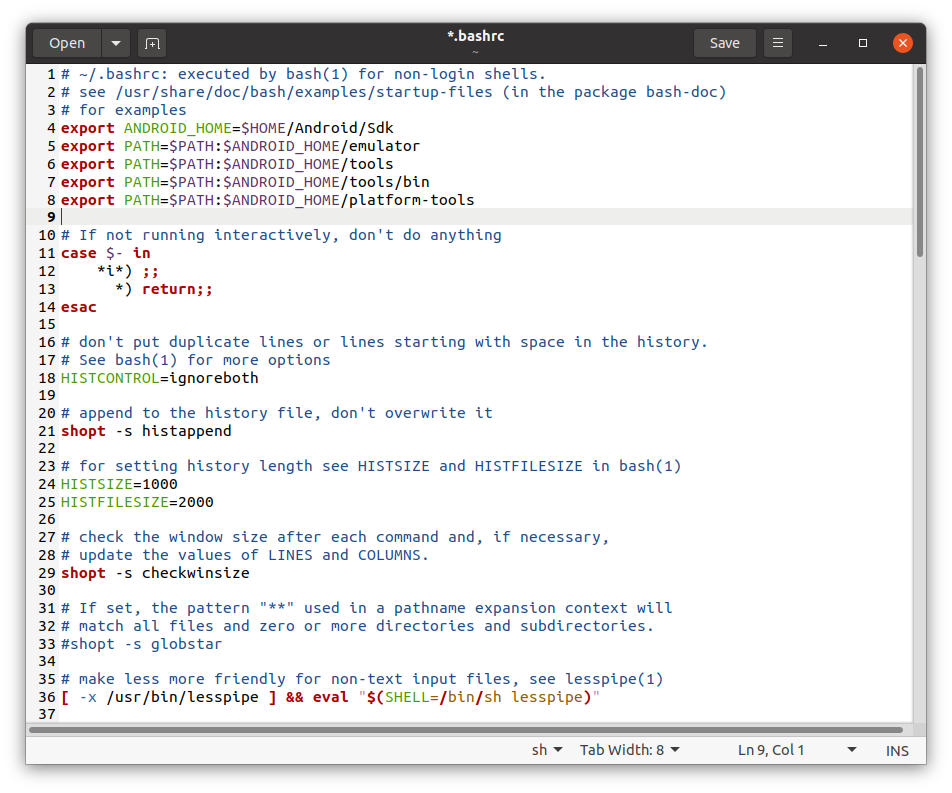
Next, you need to open the file .bashrc
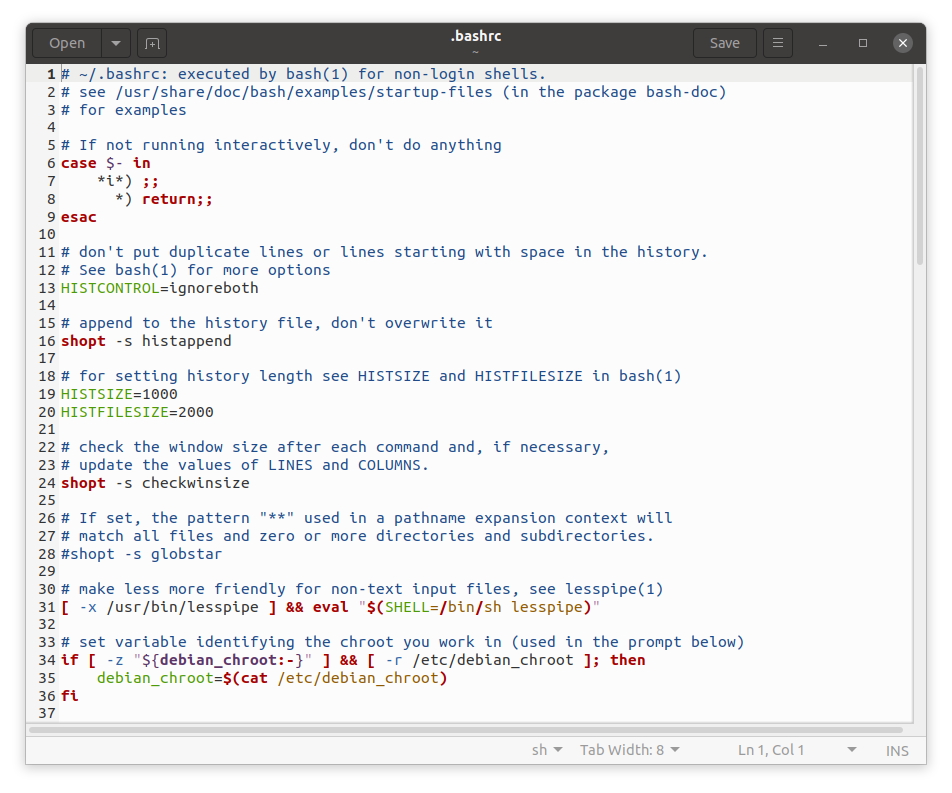
and add the following lines to it:
export ANDROID_HOME=$HOME/Android/Sdk
export PATH=$PATH:$ANDROID_HOME/emulator
export PATH=$PATH:$ANDROID_HOME/tools
export PATH=$PATH:$ANDROID_HOME/tools/bin
export PATH=$PATH:$ANDROID_HOME/platform-tools
Then enter the following command into the terminal:
source $HOME/.bashrc
This will add the ANDROID_HOME variable. You can verify that the installation is correct by entering the commands:
echo $ANDROID_HOME
и
echo $PATH


Setting up the Android emulator
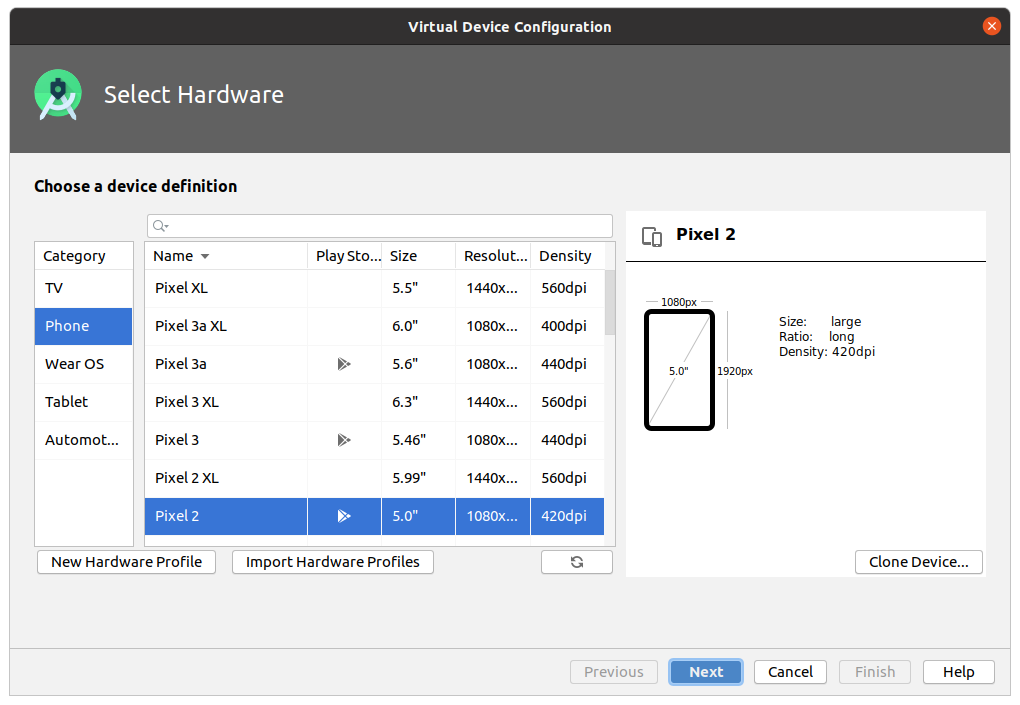
In order to create or configure the emulator, while on the main window of Android Studio, select the item Configure -> AVD Manager.
Then press the button Create Virtual Device...,
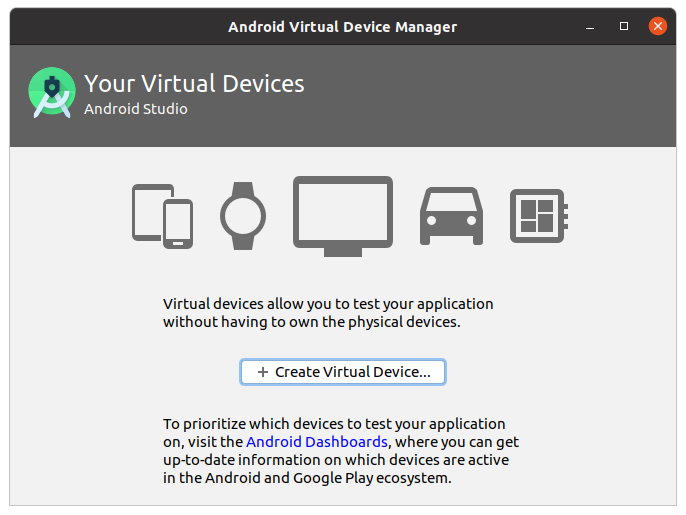
select the model of the emulated smartphone (for example, Pixel 2) and press the button Next.
In the window that opens, in the Release Name column, select Q Download (Download is a link to download the selected emulator image), download and installation will start automatically.
At the time of creating the instructions, the recommended API Level 29, check the current version during installation.
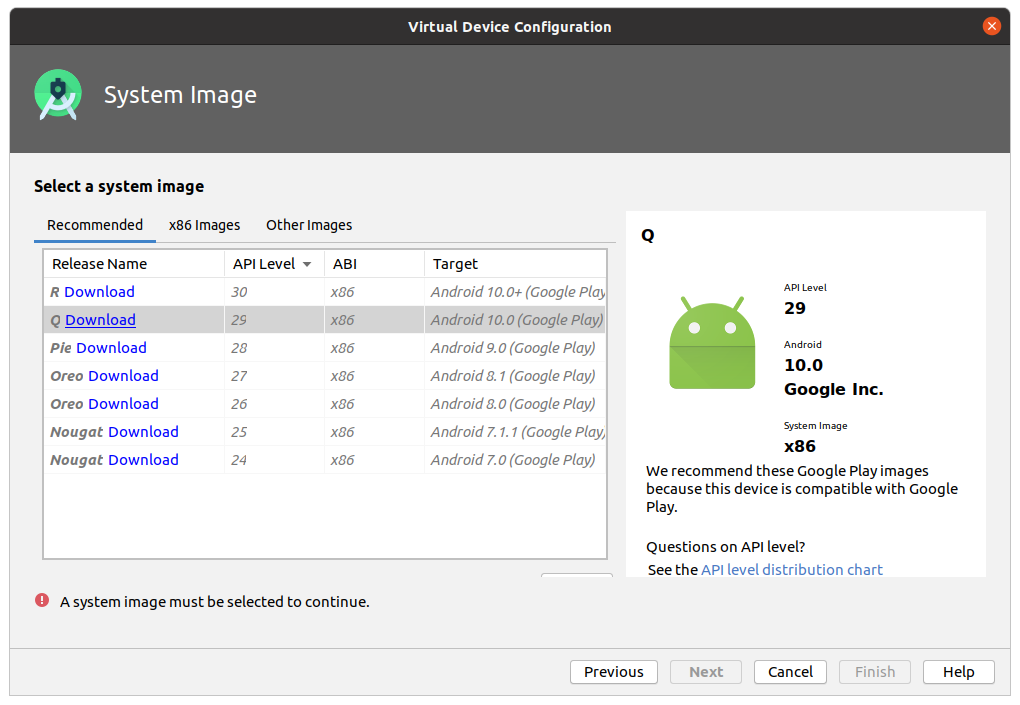
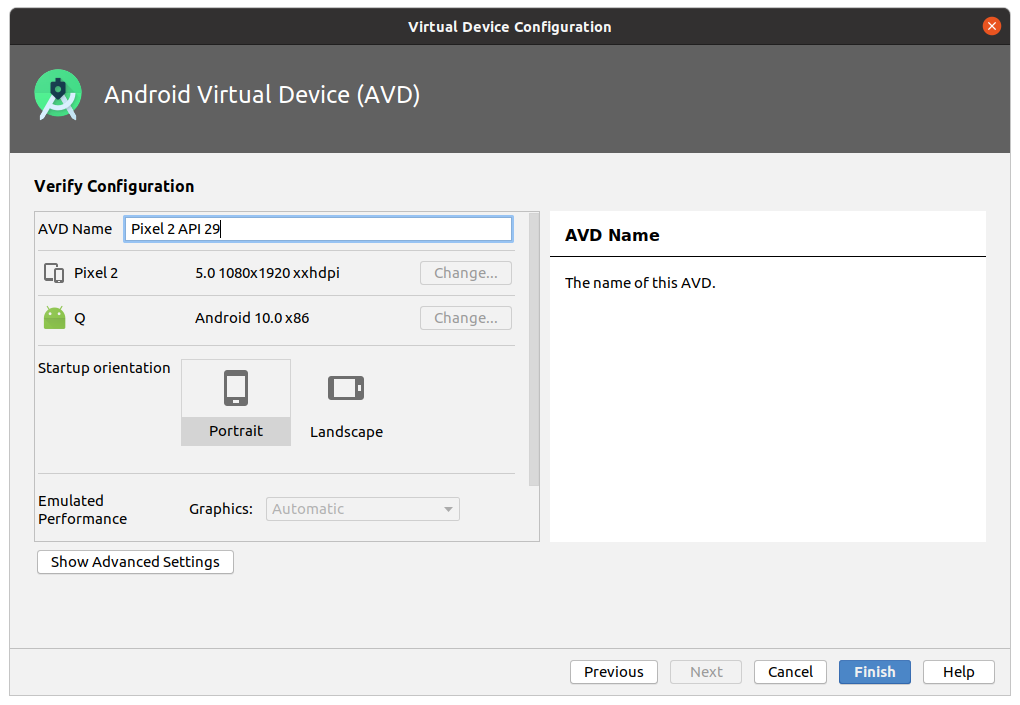
Then press the button Next->Finish.
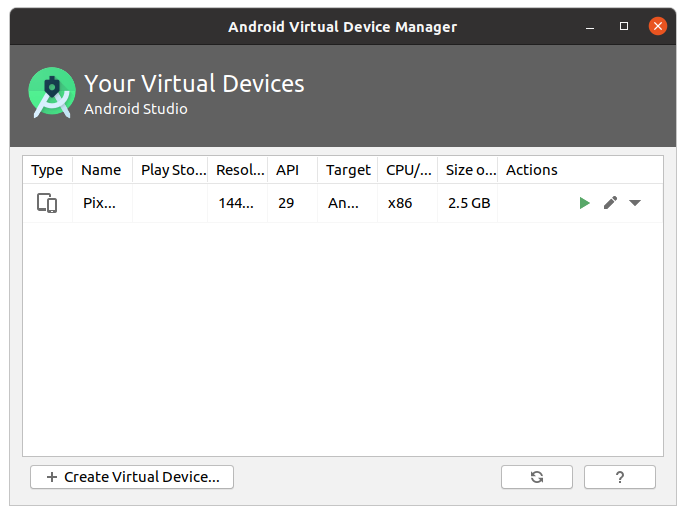
You can check the operation of the emulator by clicking on the green button in the shape of a triangle, an interface in the form of a smartphone should appear.
If you have problems with the emulator, you can use a real smartphone.
To do this, you need to become a developer in your smartphone. To do this, go to the smartphone settings and select the item About the device Next, you need to find the itemVersion ...and press 5-7 until the inscription" You have become a developer "appears.
We connect the smartphone via a USB cable and, depending on the firmware, turn on the USB debugging mode. For each firmware, the activation algorithm is different from each other. More.

Installing Watchman
Watchman is a tool from Facebook for watching changes in the file system. Its installation is optional, but many problems can arise without it.
Installing Watchman requires installing Homebrew. To do this, paste the following command into the terminal:
/bin/bash -c "$(curl -fsSL https://raw.githubusercontent.com/Homebrew/install/master/install.sh)"
It is recommended to install Homebrew in the home folder, to do this, enter the password for your account and press the button Enter.

Next, the terminal will ask for confirmation, press Enter.

After the installation is complete, you need to do the following:
Run the command in the terminal:
sudo apt-get install build-essential
Then, one by one, execute the following commands:
test -d ~/.linuxbrew && eval $(~/.linuxbrew/bin/brew shellenv)
test -d /home/linuxbrew/.linuxbrew && eval $(/home/linuxbrew/.linuxbrew/bin/brew shellenv)
test -r ~/.bash_profile && echo "eval \$($(brew --prefix)/bin/brew shellenv)" >>~/.bash_profile
echo "eval \$($(brew --prefix)/bin/brew shellenv)" >>~/.profile
и
brew install gcc
Homebrew ready for work!
Now you can install Watchman. To do this, you need to insert the command into the terminal:
brew install watchman
After the download is complete, Watchman will be ready to go!

Creating a React Native Project
React Native has a built-in command line interface that you can use to create a new project. You can access it with the npx command that ships with Node.js.
Let's create a new React Native project called MyProject.
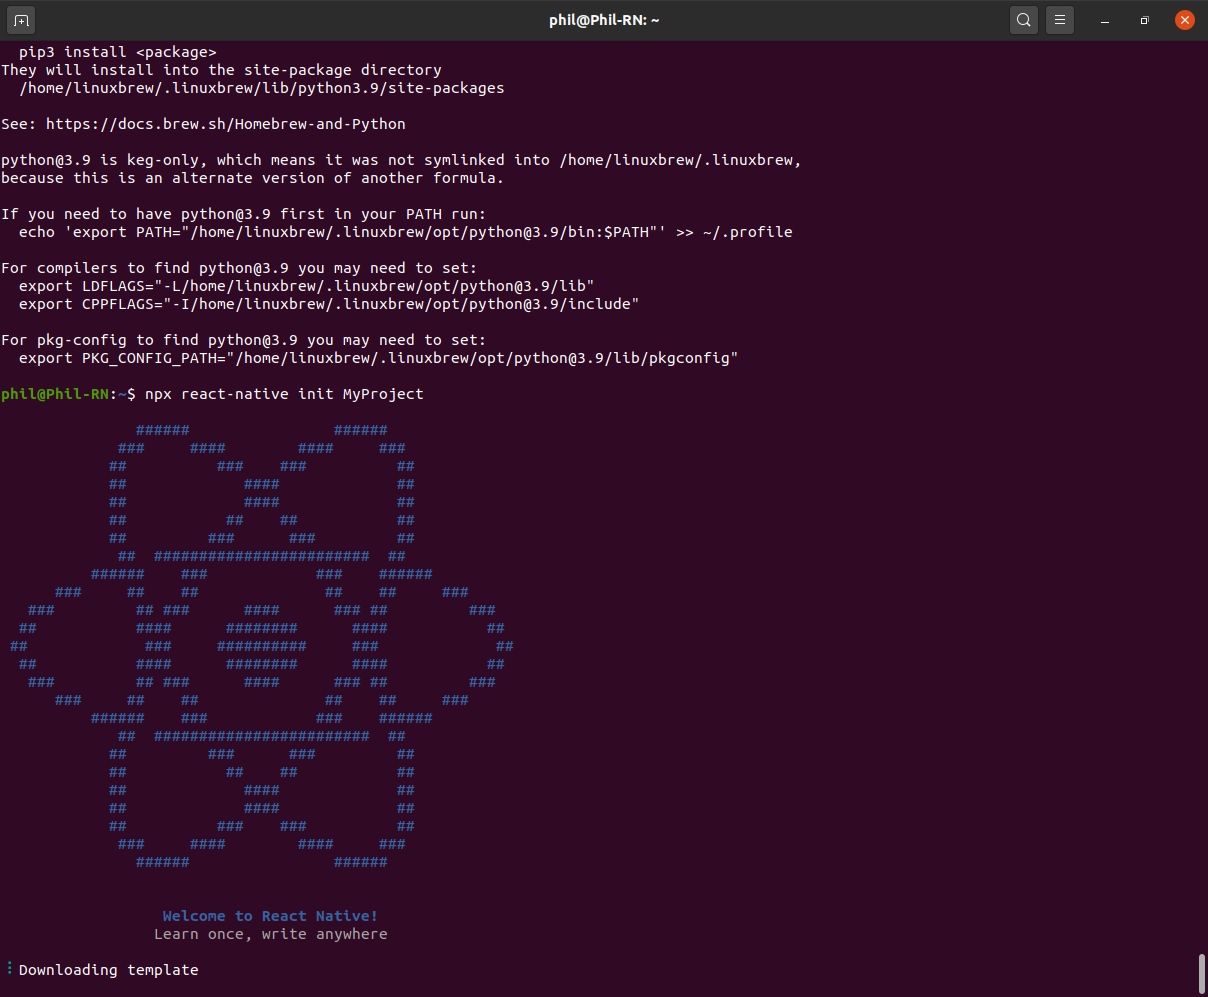
To create a project in React Native, you need to start the terminal and enter the command:
npx react-native init MyProject
Initialization of the project on React Native.

Launching a React Native Project
First you need to run Metro Bundler, the JavaScript builder that comes with React Native. Metro takes an input file and various parameters and returns a single JavaScript file that includes all your code and its dependencies. - Metro Docs.
To start Metro Bundler, run the command in the terminal npx react-native start in the folder with your created project (for example: cd MyReact):
cd MyReact
npx react-native start
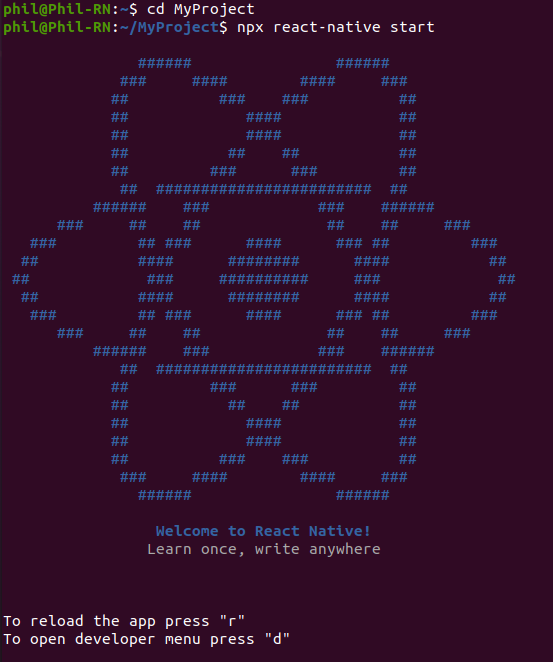
This command will run the Metro Bundler and compile the project. ::: danger Attention In the future, do not close the first terminal window with Metro Bundler. :::
To start your project React Native, open the second terminal and go to the folder with your project by executing the commands:
cd MyReact
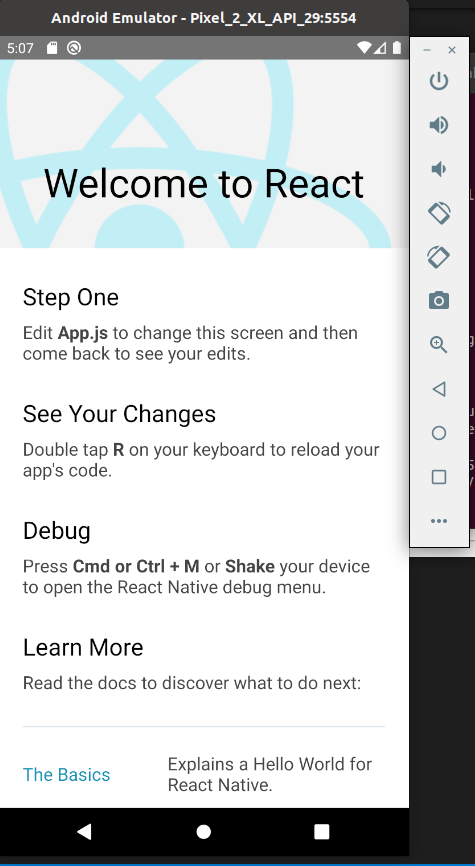
npx react-native run-android
Your application will run on an Android emulator or on a connected smartphone with USB debugging enabled.
The React Native welcome screen should appear on the emulator or smartphone screen.

Editing Code in an Application - Hello World
To edit the code, open the project folder with any code editor (we recommend Visual Studio Code). We start editing with the file App.js. When changing and saving the code, Ctrl + S, the interface of our application is automatically updated on the emulator screen.
Paste the following code into the App.js file and click Ctrl + S:
import React from 'react'
import { StyleSheet, Text } from 'react-native'

const App = () => {
  return (
    <>
      <Text style={styles.h1}>Hello World</Text>
    </>
  )
}

const styles = StyleSheet.create({
  h1: {
    backgroundColor: '#BEFCE5',
    color: '#000',
    fontSize: 25,
    fontWeight: '700',
    padding: 20,
    textAlign: 'center'
  }
})

export default App
On a screen with a light background, an inscription appears in the top center «Hello World».
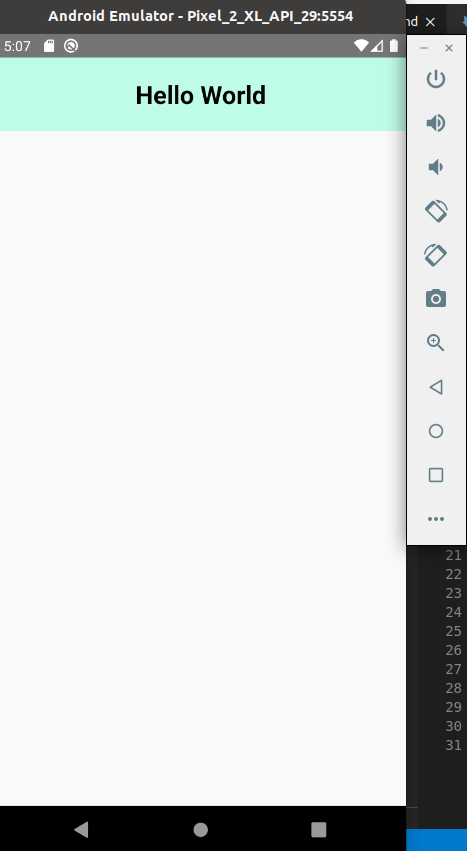
It's that simple!
To see how well you learned this lesson, take the test in the mobile application of our school on this topic or in the telegram bot.

Links:
- React Native, official documentation
- Node.js, official documentation
- Homebrew, official documentation
- Android Studio, official documentation
- Visual Studio Code, official documentation
- Metro, official documentation
Contributors ✨
Thanks goes to these wonderful people (emoji key):
 Philipp Dvinyaninov |  Dmitriy Vasilev 💵 |  Dmitriy K. 🏫 |